You know that moment at Halloween parties when the kids spot the treats table? That’s when my spiderweb brownies always steal the show! I discovered this trick years ago when I needed a last-minute spooky dessert – turns out a box of brownie mix and some frosting can work absolute magic.
What I love most is how these come together in minutes but look like you spent hours decorating. The spiderweb design is seriously foolproof – even my most kitchen-challenged friends nail it on their first try. Last year, my niece begged me to make these for her class party, and let me tell you, nothing makes a bunch of third graders happier than chocolate with creepy-crawly decorations!
The secret is starting with good old boxed brownie mix (no shame in that game!) and letting it cool completely before piping on the web. Warm brownies turn frosting into a melty mess, trust me – I learned that the messy way! Now these have become our family’s must-make Halloween tradition, and I’m betting they’ll become yours too.
Why You’ll Love These Spiderweb Brownies
These spiderweb brownies are the ultimate Halloween trick – they look fancy but couldn’t be easier! Here’s why they’re my go-to spooky treat:
- Lightning fast: From box to decorated in under an hour, even with kids “helping” (read: sneaking chocolate chips). Perfect when you’re short on time but want that wow factor.
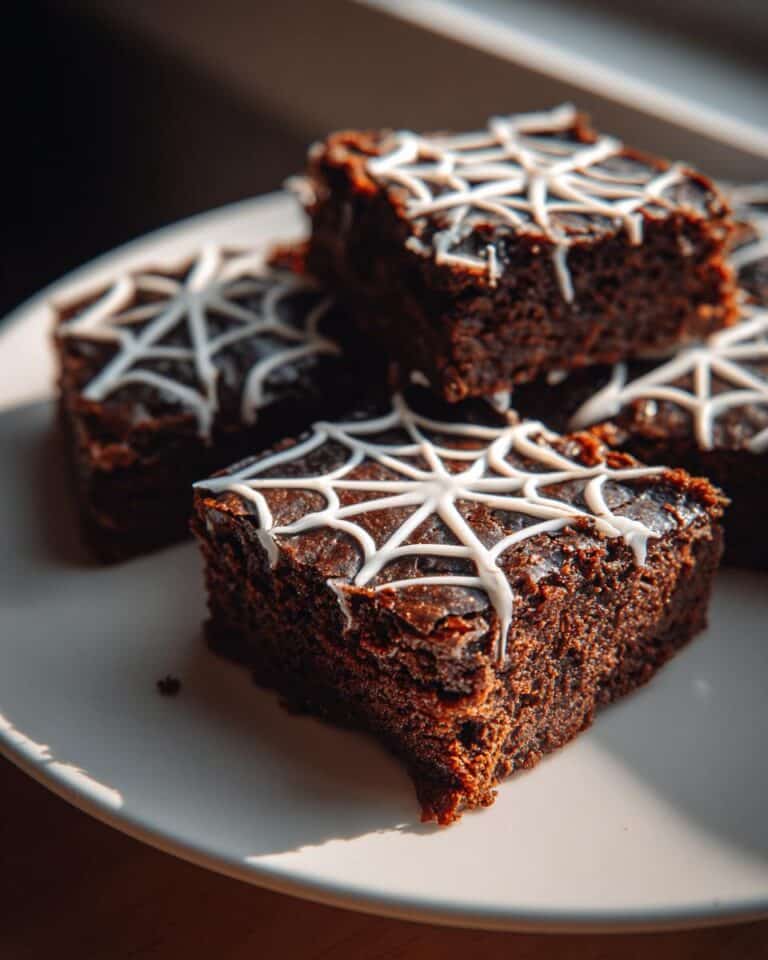
- Spooktacular presentation: That dramatic web design gets gasps every time – no one will guess it took you two minutes to pipe! The contrast of dark frosting on rich brownies is pure Halloween magic.
- Crowd-pleaser guaranteed: Kids go wild for the creepy design, adults love the classic chocolate flavor, and everyone appreciates a homemade touch that doesn’t require baking skills.
Seriously, these disappear faster than ghosts at sunrise – I always make a double batch!
Spiderweb Brownies Ingredients
Gather these simple ingredients – you probably have most in your pantry already! Here’s what you’ll need for the easiest Halloween treat ever:
- 1 box (18-20 oz) brownie mix – I like fudge-style for extra richness
- 2 large eggs (room temperature helps them blend better)
- ½ cup vegetable oil (or melted butter if you’re feeling fancy)
- ¼ cup water (I sometimes use cold brew coffee for depth of flavor)
- ½ cup prepared frosting (black or orange look fab – canned works great!)
- 9×9 inch baking pan, greased or lined with parchment
That’s it! The real magic happens with how you decorate them.
Ingredient Substitutions
No stress if you need to swap things:
- Oil substitute: Try applesauce (½ cup) for less fat – gives a cakey texture
- Egg-free: Mix 2 tbsp ground flaxseed + 6 tbsp water, let thicken 5 minutes
- Frosting hack: Use white frosting tinted black with gel food coloring (liquid makes frosting runny)
- Pan size: An 8×8 works but needs 5 extra minutes baking time
How to Make Spiderweb Brownies
Ready to create the spookiest (and easiest!) Halloween treat? Follow these simple steps, and you’ll have perfect spiderweb brownies in no time. Just remember – patience with the cooling step makes all the difference!
Preparing the Brownie Base
First things first – preheat that oven! Set it to whatever temperature your brownie mix package recommends (usually 350°F). While it heats up, grab a big bowl and mix together the brownie mix, eggs, oil, and water until just combined. Don’t overmix – a few lumps are totally fine! Pour the batter into your prepared 9×9 inch pan, smoothing the top with a spatula. Pop it in the oven and set your timer for the minimum time listed on the box – we’ll check for doneness then.
Creating the Spiderweb Design
Here’s where the magic happens! Once your brownies are baked (a toothpick should have moist crumbs, not wet batter), let them cool completely on a wire rack. I know it’s tempting, but don’t rush this step – warm brownies will turn your beautiful spiderweb into a melted mess!
When cooled, spoon your frosting into a piping bag with a small round tip (or a ziplock bag with the corner snipped). Starting at the center, pipe a spiral going outward – make about 5-6 rings total. Now take a sharp knife and gently drag it from the center to the edge, wiping the knife clean between drags. Rotate the pan slightly and repeat about 8 times to create that perfect web effect. Watch how the frosting pulls into those gorgeous strands – it’s like edible Halloween magic!
Pro tip: If your frosting gets too soft, pop the brownies in the fridge for 10 minutes before adding plastic spider decorations. Those little critters really take these from cute to creepy!

Spiderweb Brownies Decorating Tips
After making hundreds of these spiderweb brownies (okay, maybe dozens), I’ve picked up some tricks that guarantee picture-perfect results every time:
- Chill first: If your kitchen’s warm, pop the cooled brownies in the fridge for 15 minutes before piping. Cold brownies help the frosting hold those sharp web lines beautifully.
- Bag it right: A piping bag with a #3 tip gives the cleanest lines, but a ziplock with the tiniest corner cut works in a pinch – just squeeze gently!
- Spider timing: Wait until the frosting sets slightly (about 10 minutes) before placing plastic spiders so they don’t sink into the web.
Trust me, these little touches make all the difference between “nice try” and “how’d you do that?!”

Serving and Storing Spiderweb Brownies
These spiderweb brownies are best served at room temperature so the frosting stays perfectly soft. If you’ve refrigerated them, let them sit out for about 20 minutes before serving – cold frosting loses some of its shine. For storage, layer them between sheets of wax paper in an airtight container. They’ll stay fresh for 3 days, though let’s be real – they never last that long at my house!
Spiderweb Brownies FAQ
Over the years, I’ve gotten tons of questions about these spooky desserts – here are the ones that pop up most often:
Can I use homemade brownie batter instead of box mix?
Absolutely! My from-scratch brownie recipe works great too – just make sure it’s a fudgy type that bakes up sturdy enough to hold the web design. The box mix shortcut is my go-to for party emergencies, but homemade gives you bragging rights!
How do I get my frosting really black for Halloween?
White frosting + black gel food coloring is the way to go. Start with 1/4 teaspoon and keep adding until it’s as dark as a witch’s hat. Liquid food coloring will make your frosting runny, and trust me – nobody wants a droopy spiderweb!
What’s the trick to cutting clean squares?
Warm your knife under hot water, wipe it dry, then make one smooth cut straight down. Repeat between each cut for perfect party-worthy pieces. Bonus tip: plastic spiders hide any imperfect edges beautifully!

Nutrition Information
Now, let’s talk numbers – but remember, these vary depending on your specific brownie mix and frosting brands! Based on typical ingredients, each spiderweb brownie (cut into 16 squares) has approximately:
- 180 calories
- 8g fat (2g saturated)
- 25g carbs
- 15g sugar
- 2g protein
Not bad for such a festive treat! The exact counts will shift if you use applesauce instead of oil or sugar-free frosting – but hey, it’s Halloween, so I say enjoy every chocolatey bite!
I’d love to see your spiderweb masterpieces! Snap a photo and tag me – nothing makes me happier than seeing families enjoying this easy Halloween tradition. Leave a rating below if you tried it, and don’t forget those spooky hashtags!
You can find more spooky Halloween inspiration on Pinterest!
Print
Spiderweb Brownies: 5-Minute Halloween Magic Anyone Can Make
- Total Time: 35 minutes
- Yield: 16 brownies
- Diet: Vegetarian
Description
Easy Halloween spiderweb brownies made with box mix and frosting.
Ingredients
- 1 box brownie mix
- 2 eggs
- ½ cup oil
- ¼ cup water
- ½ cup frosting
Instructions
- Preheat oven to temperature specified on brownie mix box
- Mix brownie batter according to package directions
- Pour batter into prepared baking pan
- Bake for time indicated on package
- Let brownies cool completely
- Pipe frosting in spiral pattern on top
- Drag knife from center outward to create web design
Notes
- Use black or orange frosting for Halloween colors
- Add plastic spider decorations for extra effect
- Cut into squares before serving
- Prep Time: 10 minutes
- Cook Time: 25 minutes
- Category: Dessert
- Method: Baked
- Cuisine: American


