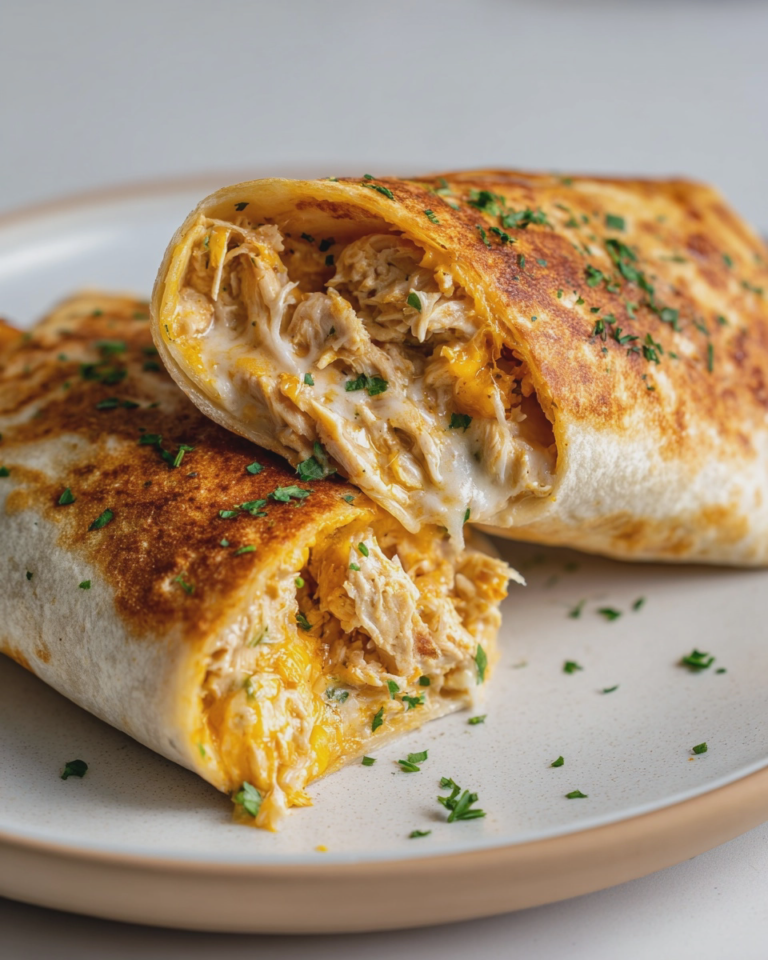
Tuesday nights in my small apartment kitchen often call for something quick and satisfying. These cheesy garlic chicken wraps fit that bill perfectly. They come together with minimal fuss, using ingredients I usually have on hand or can pick up easily from the Ralphs on Sunset. The shredded chicken, creamy garlic sauce, and melted cheese create a filling that’s both comforting and substantial.
They’re versatile enough for a busy weeknight dinner or a casual lunch. I’ve found myself making them regularly since Nonna Rosa first showed me how to adapt her chicken salad recipe into something a bit heartier. It’s a convenient meal that doesn’t require much thought after a long day.
Proteins and Dairy
For the chicken, cooked and shredded works best; a rotisserie chicken from the market makes this particularly fast. Mayonnaise and sour cream form the creamy base, and shredded cheddar binds it all together.
Flavor Enhancers
Fresh garlic, minced, is key here. Nonna Rosa always insisted on fresh cloves. Parsley adds a bit of freshness, balanced with onion powder, salt, and pepper.
Wraps and Oil
Large flour tortillas are essential for holding the filling. Olive oil is used for pan-frying, giving the wraps a pleasant golden exterior.
Prepare the Filling
In a medium bowl, combine the shredded chicken with the mayonnaise, sour cream, minced garlic, fresh parsley, onion powder, salt, and black pepper. Stir these ingredients until they are thoroughly mixed. After that, fold in the shredded cheddar cheese.
Assemble the Wraps
Lay out your four large flour tortillas. Divide the chicken and cheese mixture evenly among them, spreading it across the center of each tortilla. Fold in the short sides of the tortilla first, then roll them up tightly from one of the long sides. This helps keep the filling secure.
Cook Until Golden
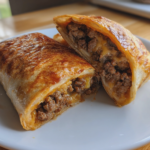
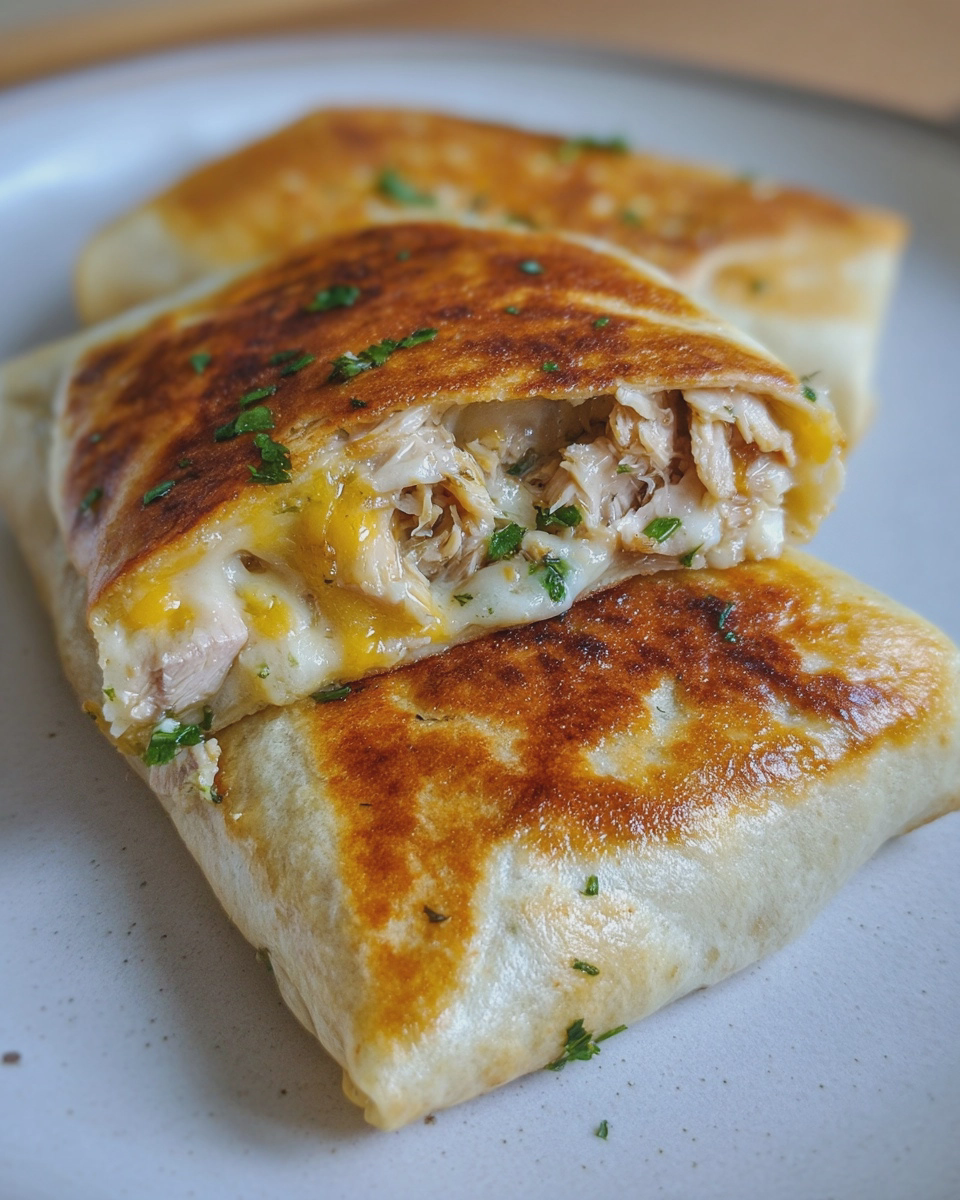
Heat the olive oil in a large skillet over medium heat. My 12-inch Lodge cast iron skillet works well for this. Once the oil shimmers, place the assembled cheesy garlic chicken wraps seam-side down in the hot pan. Cook them for 3 to 4 minutes per side, or until each side is golden brown and the cheese inside has melted and is bubbling. Serve them warm.
Notes From My Kitchen
One thing I’ve learned is not to overfill the tortillas. The first time I made these, I got a little ambitious with the chicken mixture, and one of the wraps burst open in the skillet. A slightly less full wrap is easier to roll and cooks more evenly.
I often use a rotisserie chicken from my local market for these wraps. It saves a significant amount of time on weeknights. For serving, a simple green salad with a light vinaigrette makes a good complement, cutting through the richness of the cheese and sauce.
Variations
For a bit of heat, a pinch of red pepper flakes mixed into the chicken filling adds a subtle kick. If you prefer a different cheese, Monterey Jack or a Mexican blend can be swapped in for the cheddar. To make these a bit lighter, plain Greek yogurt can replace some of the mayonnaise and sour cream, though the texture will be slightly different.
Vegetarian versions are also possible. Consider using seasoned, shredded jackfruit or a hearty mashed chickpea mixture as the base instead of chicken. You could also add finely diced bell peppers or spinach to the filling for extra vegetables.
Storage
Leftover cheesy garlic chicken wraps should be stored in an airtight container in the refrigerator for up to 3 days. When reheating, I usually use a non-stick pan over medium-low heat to crisp them up again, about 3-4 minutes per side. The microwave works in a pinch, but the tortillas won’t be as crisp. I find they are best enjoyed within a day or two; the tortillas can start to get a bit soft if stored longer.
FAQ
Can I prepare the chicken mixture ahead of time? Yes, you can mix the chicken filling up to 24 hours in advance and store it in an airtight container in the refrigerator. Assemble and cook the wraps just before serving.
What kind of tortillas work best? I typically use large flour tortillas, about 10 inches, as they are flexible enough to roll without tearing and hold a good amount of filling. Corn tortillas tend to crack when rolled tightly.
Can I bake these instead of pan-frying? While pan-frying gives the best crispness, you could bake them. Place the assembled wraps on a baking sheet and bake at 375°F (190°C) for 15-20 minutes, flipping halfway, until golden and heated through.
Nutritional Information
The nutritional estimates for these cheesy garlic chicken wraps, calculated per serving, are based on the ingredients listed. Each wrap contains approximately 575 calories, 42g of fat, 28g of carbohydrates, and 24g of protein. These figures can vary depending on the specific brands of ingredients used, such as the fat content in the cheese or the sodium in the broth. I first calculated these values back in the summer of 2024 when I was setting up the blog.
Print
Cheesy Garlic Chicken Wraps
- Total Time: 25 minutes
- Yield: 4 servings
Description
These cheesy garlic chicken wraps are made with shredded chicken, a creamy garlic sauce, and melted cheese, all wrapped in tortillas.
Ingredients
- 2 cups cooked chicken, shredded
- 1/2 cup mayonnaise
- 2 tablespoons sour cream
- 2 cloves garlic, minced
- 1 tablespoon fresh parsley, chopped
- 1/2 teaspoon onion powder
- 1/4 teaspoon salt
- 1/8 teaspoon black pepper
- 1 cup shredded cheddar cheese
- 4 large flour tortillas
- 2 tablespoons olive oil
Instructions
- In a medium bowl, combine the shredded chicken, mayonnaise, sour cream, minced garlic, parsley, onion powder, salt, and pepper. Mix well.
- Stir in the shredded cheddar cheese.
- Divide the chicken mixture evenly among the four flour tortillas.
- Fold in the sides of each tortilla and then roll them up tightly.
- Heat olive oil in a large skillet over medium heat.
- Place the wraps seam-side down in the hot skillet. Cook for 3-4 minutes per side, or until golden brown and the cheese is melted and bubbly.
- Serve warm.
Notes
- For extra flavor, you can add a pinch of red pepper flakes to the chicken mixture.
- These wraps are great for meal prep; prepare the filling ahead of time and assemble when ready to cook.
- Serve with a side salad or your favorite dipping sauce.
- Prep Time: 15 minutes
- Cook Time: 10 minutes
- Category: Main Course
- Method: Pan-fried
- Cuisine: American