
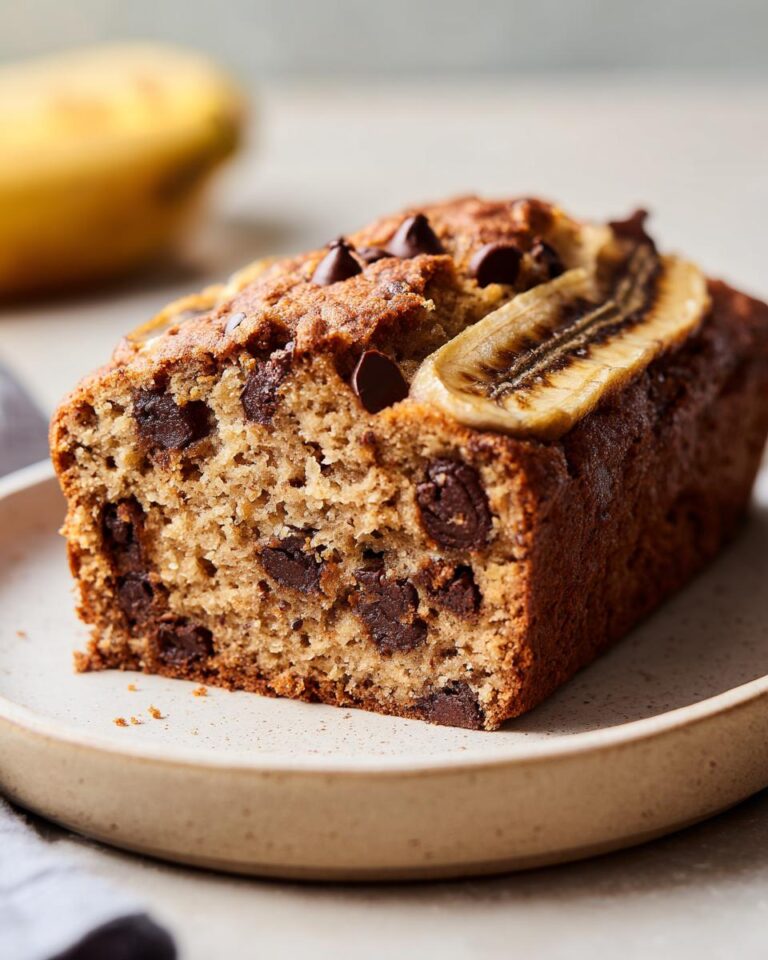
No heading needs to be written for the introduction. Imagine this: you’ve got those bananas staring at you, turning a little *too* ripe on the counter. You know what that means, right? Time for some serious dessert baking! And trust me, you’re in for a treat because we’re making the most amazing *chocolate banana bread* you’ve ever had.
I’ve been baking for, oh, let’s just say a *while* now, and I’ve tweaked this recipe until it’s absolute perfection. It’s super easy, even if you’re a beginner, and the result? A wonderfully moist loaf that everyone will rave about. Seriously, get ready for compliments!
Ingredients for Perfect Chocolate Banana Bread
Okay, so here’s the deal. You’re gonna need a few things, but don’t worry, it’s all pretty straightforward. I’m a big believer in measuring things properly, so get your measuring cups and spoons ready! Here’s what you’ll need for this amazing chocolate banana bread:
- Ripe bananas: 3 – You want those bananas to be super ripe, like, practically black. That’s where all the sweetness and flavor come from! Make sure you mash them up really well – no big chunks allowed!
- All-purpose flour: 1 3/4 cups – Just your regular all-purpose flour works perfectly fine.
- Granulated sugar: 3/4 cup – Adds just the right amount of sweetness.
- Cocoa powder: 1/2 cup – Use a good quality cocoa powder for that rich flavor. I like the unsweetened kind.
- Baking soda: 1 teaspoon – This is what makes the bread rise beautifully.
- Salt: 1/2 teaspoon – Don’t skip the salt! It balances out the sweetness and enhances the flavors.
- Eggs: 2 – They bind everything together and add richness.
- Melted butter: 1/3 cup – Adds moisture and a lovely, buttery flavor. Make sure it’s cooled a little before you add it in. Careful, it splatters!
- Vanilla extract: 1 teaspoon – Vanilla just makes everything better, right?
- Chocolate chips: 1 cup – The star of the show! Use whatever kind you like – milk chocolate, semi-sweet, dark…or a mix!
See? Easy peasy! Now, let’s get baking!
Step-by-Step Instructions: How to Make Amazing Chocolate Banana Bread
Alright, friends, let’s get down to business and bake this incredible chocolate banana bread! It’s super easy, I promise, and these steps will have you smelling that deliciousness in no time.
Preparing the Wet Ingredients
First things first, let’s get those wet ingredients ready to go. Grab those super ripe bananas (you know, the almost-black ones!), and put them in a big bowl. Now, mash them up really well. I like using a fork, but a potato masher works great too. You want them nice and smooth with no big chunks. Then, toss in the sugar, cocoa powder, baking soda, and salt. Give it a good mix to get everything combined.
Next, crack in those eggs, pour in the melted butter (make sure it’s cooled a bit!), and add that splash of vanilla. Whisk it all together until it’s lovely and smooth. It should look kinda glossy and amazing!
Combining Dry Ingredients
Now, let’s tackle the dry stuff. In a separate bowl (because we don’t want to overmix!), measure out your flour. I usually just spoon it in and level it off with a knife. Easy peasy! Now, just gently whisk it to make sure there are no lumps.
Mixing Wet and Dry Ingredients
Okay, here’s the fun part! Slowly add the dry ingredients to the wet ingredients. Gently fold them together with a spatula until they’re *just* combined. Don’t overmix! A few streaks of flour are totally fine. Then, and this is my favorite part, gently fold in those glorious chocolate chips. Mmm, chocolate!
Baking Your Chocolate Banana Bread
Preheat your oven to 350°F (175°C). While the oven is heating up, grease and flour your loaf pan. Or, if you’re like me and want to be extra sure, use some parchment paper! Pour the batter into the prepared loaf pan. Now, pop it in the oven and bake for about 50-60 minutes. The time can vary depending on your oven, so keep an eye on it! You’ll know it’s done when a toothpick inserted into the center comes out clean. If it’s still got batter on it, bake it for a few more minutes and check again.
Cooling and Serving Your Chocolate Banana Bread
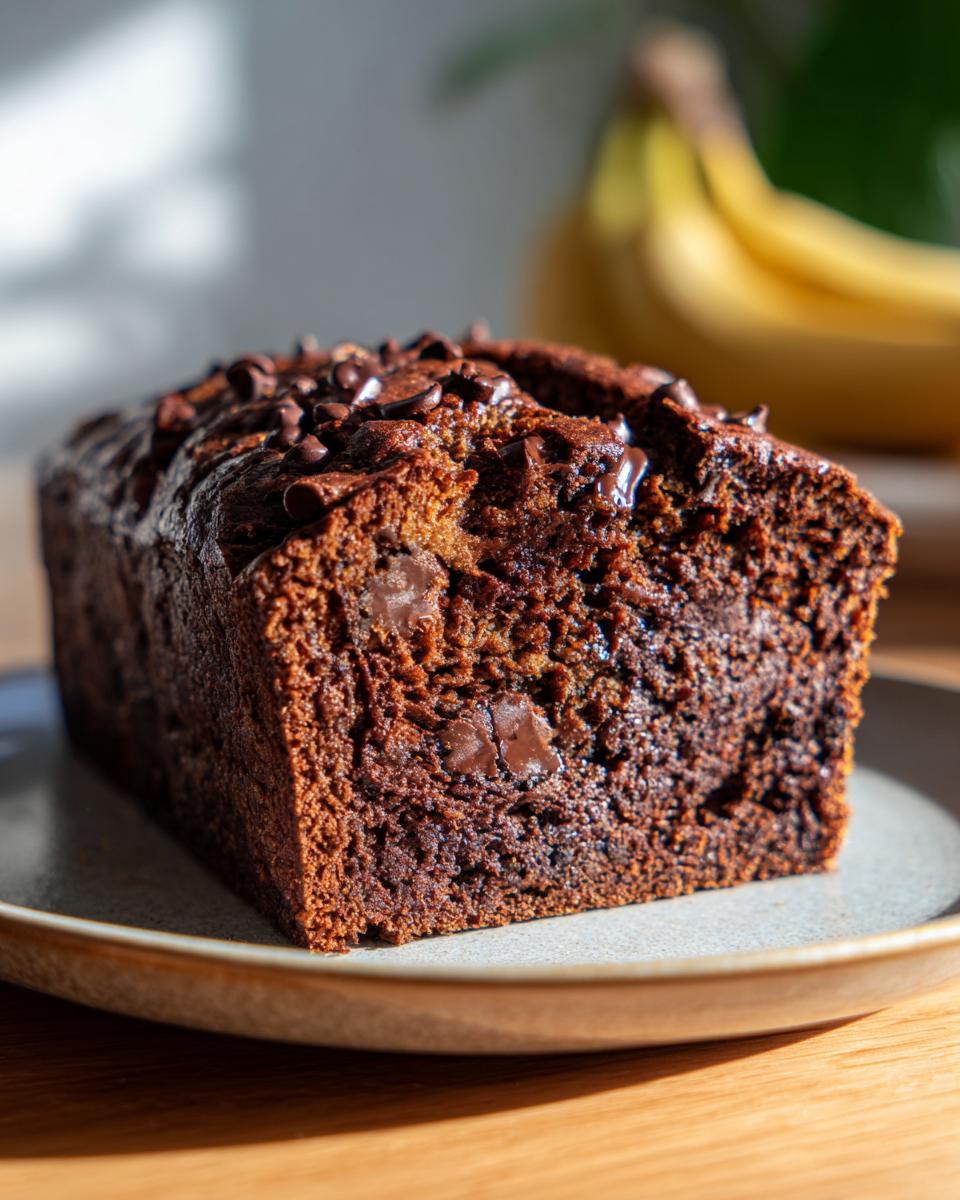
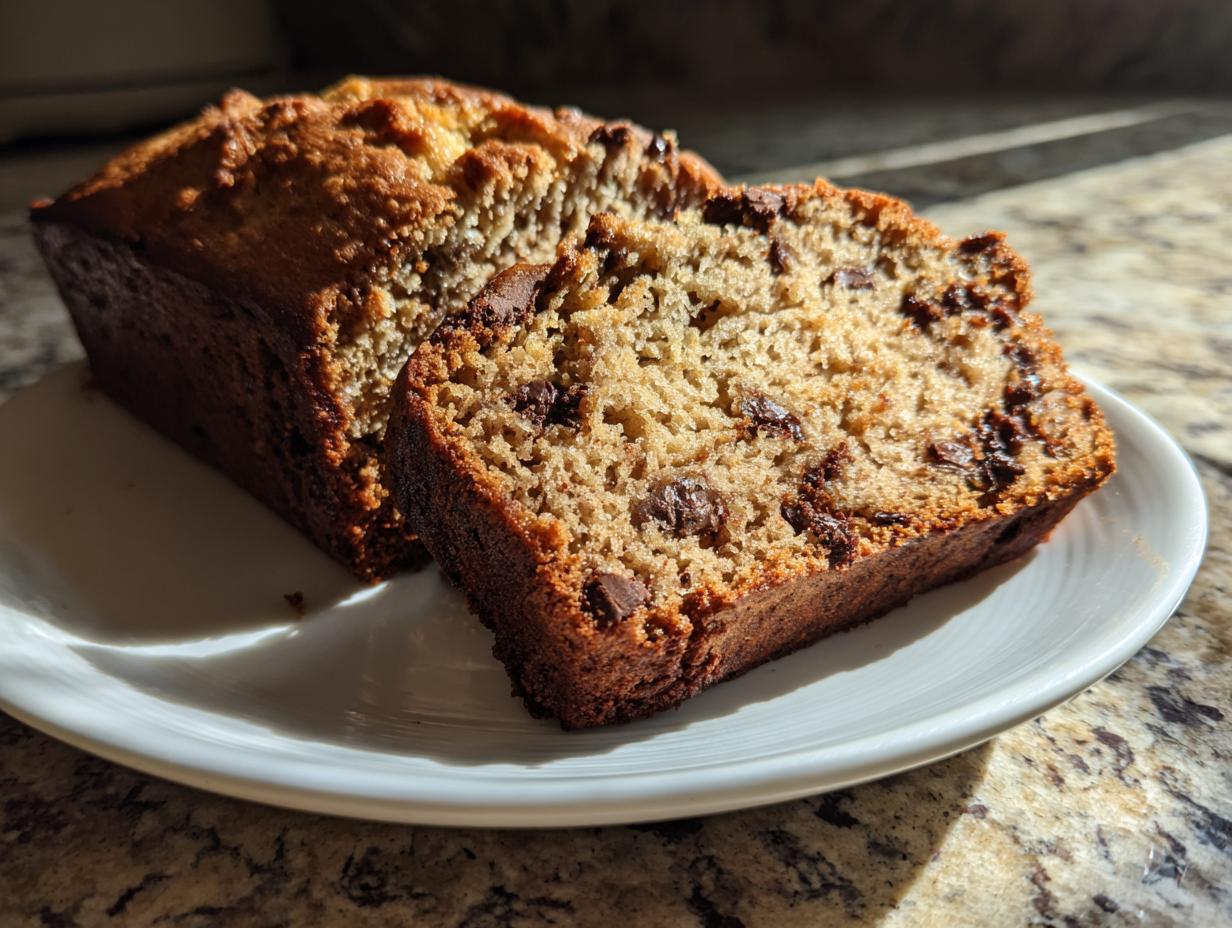
Once it’s done, take it out of the oven. Here’s a tip: let it cool in the pan for about 10 minutes before transferring it to a wire rack to cool completely. This is super important! If you try to slice it while it’s still hot, it might fall apart. Trust me, I’ve learned the hard way! Once it’s cooled, slice it up and enjoy! You can eat it plain, slather it with butter, or even top it with some cream cheese frosting. Yum!
See? Told you it was easy! Now go enjoy your delicious chocolate banana bread!
Why You’ll Love This Chocolate Banana Bread Recipe
Okay, so why should you try *this* recipe? Well, let me tell you! I’ve baked a LOT of banana bread in my day, and this one is a winner, hands down. Here’s why you’re gonna fall in love with it:
- Easy Peasy: Seriously, this recipe is a breeze. Even if you’re not a seasoned baker, you can totally do this!
- Rich Flavor: That cocoa powder and those ripe bananas? They create the most amazing, deep, chocolate-y flavor that’ll have you coming back for more.
- Moist Loaf: Nobody wants dry bread! This recipe guarantees a perfectly moist loaf every single time. It’s all thanks to the bananas, the butter, and a little bit of magic.
- Perfect for Any Occasion: Breakfast, snack, dessert… this chocolate banana bread is perfect for any time of the day. It’s great for sharing, but let’s be honest, you might not want to!
- Customizable: Want to add nuts? Go for it! Got a different kind of chocolate chip? Use it! This recipe is super flexible, so you can make it your own.
Honestly? It’s just pure comfort food. It’s the kind of thing that makes your kitchen smell amazing and brings a smile to your face. Trust me, you’ll love it!
Ingredient Notes and Substitutions for Your Chocolate Banana Bread
Okay, let’s talk about the stars of the show and how you can make this chocolate banana bread your own! I’m all about making things work, even if you don’t have *exactly* what the recipe calls for. Don’t stress, we got this!
Banana Selection and Preparation
First things first: the bananas! You *need* ripe bananas for this recipe, friends. Like, spotty, brown, almost-too-soft bananas. They should be practically begging to be turned into bread. The riper they are, the sweeter and more flavorful your bread will be. The perfect time to bake is always when you think they are too ripe to eat on their own. Don’t worry if they look a little scary!
As for mashing them, I like to do it in a big bowl with a fork. It’s easy, and you can make sure there aren’t any big chunks. You *could* use a potato masher if you like things extra smooth, but I think a few little banana bits are just fine. They add to the texture of the bread, you know?
Flour and Cocoa Powder Alternatives
Now, let’s talk about the flour and cocoa powder. I always use all-purpose flour, but you can definitely experiment with other flours if you want to! Whole wheat flour will give it a slightly nuttier flavor and a denser texture. You might need to add a little extra liquid if you go that route. I’ve also tried using a gluten-free flour blend, and it worked pretty well! Just make sure it’s a blend that’s designed for baking.
As for the cocoa powder, I usually use unsweetened cocoa powder. It gives it a really deep chocolate flavor. If you only have Dutch-processed cocoa powder, you can use that too, but the bread might be a little less tangy. You can also experiment with different brands of cocoa powder to find your favorite!
Chocolate Chip Variations
And now, the fun part: chocolate chips! I love a good mix of chocolate chips. I usually go for semi-sweet, but you can use whatever you like! Milk chocolate chips are delicious, and dark chocolate chips add a more intense chocolate flavor. You can even use white chocolate chips if you’re feeling adventurous!
You can also chop up a chocolate bar and use that instead of chips. Just be sure to roughly chop it so you get those nice little pockets of melty chocolate throughout the bread. Or, if you’re feeling extra fancy, try adding a handful of chopped nuts like walnuts or pecans. Yum!
Tips for Baking the Best Chocolate Banana Bread
Alright, so you’ve got your ingredients, you’ve followed the steps, and now you’re about to bake! But wait, here are a few extra tips and tricks to make sure your chocolate banana bread turns out absolutely perfect. Trust me, these little things can make a big difference!
First off, preheating the oven is *super* important. Don’t even think about putting that loaf in until your oven is at the right temperature! It makes a huge difference in how evenly the bread bakes and how well it rises. I usually let mine preheat for a good 15-20 minutes to make sure it’s nice and hot.
Next up: prevent that dreaded sinking! Sometimes, especially with banana bread, the center can collapse. To prevent this, make sure your baking soda is fresh (it loses its oomph over time). Also, don’t overmix the batter! Overmixing develops the gluten in the flour, which can make the bread tough and cause it to sink. Fold it gently until everything is just combined. No need to go crazy!
For even baking, I like to put a baking sheet in the oven while it preheats. Then, when it’s time to bake, I put my loaf pan on the preheated baking sheet. This helps distribute the heat more evenly and prevents the bottom from getting too dark. It’s a lifesaver, especially if your oven has hot spots!
And finally, the toothpick test is your friend! Always, always, always check for doneness with a toothpick. Stick it in the center of the loaf. If it comes out clean or with a few moist crumbs, it’s done! If it comes out with wet batter, it needs more time. Just keep an eye on it and adjust the baking time as needed. Every oven is different, so don’t be afraid to experiment a little!
Follow these tips, and you’ll be well on your way to chocolate banana bread perfection! Happy baking, friends!
Serving Suggestions and Variations
Okay, so you’ve baked your gorgeous chocolate banana bread, and it smells like heaven. Now, how do you serve it? Well, the possibilities are pretty much endless, but here are a few of my favorite ways to enjoy it!
First off, you can’t go wrong with a simple slice of bread and a pat of butter. Seriously, it’s classic for a reason! The warm bread, the melting butter… pure comfort food. You can also try it with some cream cheese. It’s a little tangy, a little sweet, and it just melts in your mouth! Delicious!
If you’re feeling a little fancy, why not try a scoop of vanilla ice cream? The warmth of the bread, the cold ice cream, the chocolate chips… it’s a party in your mouth! You could even add a drizzle of chocolate sauce or some whipped cream. Go wild!
Now, let’s talk about some fun variations! Want to add a little something extra? Try these ideas:
- Nuts: Add a handful of chopped walnuts, pecans, or even almonds to the batter. They add a great crunch and a lovely flavor.
- Spices: A pinch of cinnamon or nutmeg can really enhance the flavor of the banana bread. I often add a teaspoon of cinnamon to mine!
- Different Chocolates: Mix up the chocolate chips! Try using a combination of milk chocolate, dark chocolate, and white chocolate chips. Or, chop up a chocolate bar and add that to the batter.
- Frosting: If you’re feeling extra indulgent, top your cooled bread with a cream cheese frosting or a simple chocolate glaze. Mmm!
- Dried Fruit: Add some dried cranberries or raisins to the batter for a bit of chewiness and extra flavor.
Honestly, the best part about this chocolate banana bread is that you can make it your own! Don’t be afraid to experiment and get creative. Have fun with it, and enjoy every bite!
Storage and Reheating Instructions for Your Chocolate Banana Bread
Okay, so, you’ve baked a delicious loaf of chocolate banana bread, and, chances are, you won’t eat it all in one sitting (though, no judgment if you do!). So, how do you keep it fresh and delicious? Don’t worry, I’ve got you covered!
The best way to store your leftover bread is in an airtight container. A breadbox is perfect if you have one, or a ziplock bag works great too. Just make sure to squeeze out as much air as possible! If you’re going to eat it within a day or two, you can leave it at room temperature. But if you want to keep it around for longer, pop it in the fridge! It’ll stay fresh for about a week in the refrigerator.
Now, let’s talk about reheating! Nobody wants dry bread, right? So, here’s how to bring it back to its moist, delicious glory. My favorite way is to slice off what I want and warm it in the microwave for about 15-20 seconds. Careful, it can get hot fast! Another good option is to wrap a slice in foil and warm it in the oven at 350°F (175°C) for about 5-10 minutes. That way, the whole slice will be warm and delicious. If you’re feeling extra fancy, you can even toast a slice in the toaster oven! Just keep an eye on it so it doesn’t get too toasty.
You can also freeze your chocolate banana bread for longer storage! Wrap the whole loaf tightly in plastic wrap, then put it in a freezer bag. It will last in the freezer for about 2-3 months. When you’re ready to eat it, just let it thaw at room temperature, and then reheat as described above. Easy peasy!
With these storage and reheating tips, you can enjoy your amazing chocolate banana bread for days to come! Yum!
Frequently Asked Questions About Chocolate Banana Bread
Okay, so you’ve got questions, I’ve got answers! Here are some of the most common questions I get about this amazing chocolate banana bread recipe. Hopefully, these will help you out!
Can I freeze chocolate banana bread?
Absolutely! Freezing is a great way to keep your chocolate banana bread fresh for longer. Just wrap the whole loaf or individual slices tightly in plastic wrap, then pop them in a freezer bag. It’ll stay good in the freezer for about 2-3 months. When you’re ready to eat it, just thaw it at room temperature, and then reheat it as described above. Or, you can just grab a slice straight out of the freezer – it’s like a chocolate banana bread popsicle!
How can I prevent the bread from drying out?
Nobody wants dry chocolate banana bread, and I totally get it! The key is to not overbake it. Use the toothpick test to make sure it’s done, and take it out of the oven as soon as the toothpick comes out clean or with a few moist crumbs. Also, proper storage is super important! Make sure you store it in an airtight container or a tightly sealed bag. You can also add a little extra moisture by wrapping it in a paper towel before putting it in the container. Those bananas are key for a moist loaf!
What if I don’t have all the ingredients?
Don’t panic! Baking is all about being flexible! If you’re missing an ingredient, check out the “Ingredient Notes and Substitutions” section above for some ideas. But even if you don’t have *every* single thing, don’t let that stop you from baking! You can usually make some substitutions. For example, if you don’t have cocoa powder, you could try using a chocolate syrup. Even without everything, you can still make an amazing chocolate banana bread!
How long does it stay fresh?
If you store it properly, your chocolate banana bread should stay fresh for about 3-4 days at room temperature. If you put it in the fridge, it’ll last for about a week. But honestly? It usually disappears way before then in my house! It’s just too good to resist!
Estimated Nutritional Information
Okay, so, I’m not a nutritionist or anything, but I know people like to know what they’re eating! So, here’s a rough estimate of the nutritional information for a slice of this amazing chocolate banana bread. Keep in mind, this is just an estimate, and it can vary depending on the exact ingredients you use and how big you slice your bread!
I usually use an online nutrition calculator to get these numbers, and I’ve tried to be as accurate as I can. Here’s what you can expect per slice:
- Calories: Around 350 – It’s a treat, so enjoy it!
- Sugar: About 25g – That’s where the deliciousness comes from!
- Sodium: Around 150mg – Not too bad!
- Fat: Around 15g – Butter makes everything better, right?
- Saturated Fat: Around 8g – Balance is key!
- Unsaturated Fat: Around 5g – Yay, good fats!
- Trans Fat: 0g – Always a good thing!
- Carbohydrates: Around 50g – Fuel up!
- Fiber: Around 3g – Every little bit helps!
- Protein: Around 5g – Yay, protein!
- Cholesterol: Around 50mg – Enjoy in moderation!
Remember, this is just a rough estimate. But hopefully, it gives you a general idea of what you’re getting. And honestly? It’s worth every single calorie, in my opinion! Now go enjoy that chocolate banana bread!
For more delicious recipes and baking inspiration, check out Recipes Best Of.
Print
3 Reasons You’ll Adore This Chocolate Banana Bread
- Total Time: 1 hour 10 minutes
- Yield: 1 loaf
- Diet: Vegetarian
Description
This recipe guides you to bake delicious chocolate banana bread.
Ingredients
- Ripe bananas: 3
- All-purpose flour: 1 3/4 cups
- Granulated sugar: 3/4 cup
- Cocoa powder: 1/2 cup
- Baking soda: 1 teaspoon
- Salt: 1/2 teaspoon
- Eggs: 2
- Melted butter: 1/3 cup
- Vanilla extract: 1 teaspoon
- Chocolate chips: 1 cup
Instructions
- Preheat your oven to 350°F (175°C). Grease and flour a loaf pan.
- Mash the bananas in a bowl.
- Add sugar, cocoa powder, baking soda, and salt. Mix well.
- Whisk in eggs, melted butter, and vanilla.
- Stir in flour until just combined.
- Gently fold in chocolate chips.
- Pour batter into the loaf pan.
- Bake for 50-60 minutes, or until a toothpick comes out clean.
- Let cool before slicing and serving.
Notes
- You can add nuts to the batter.
- Store leftovers in an airtight container.
- Prep Time: 15 minutes
- Cook Time: 55 minutes
- Category: Dessert
- Method: Bake
- Cuisine: American